
Windows 7 client
- In the Windows Start menu, go to Control Panel > Network and Internet > Network and Sharing Center > Manage Wireless Networks or select the wireless network icon in the Notification area of the Taskbar. A list of available networks is displayed.
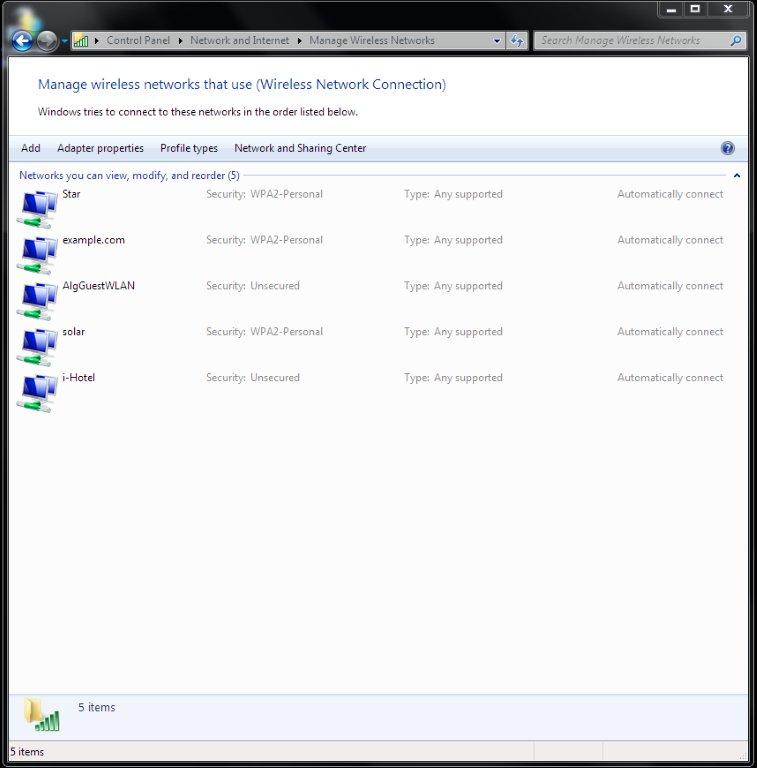
- Do one of the following:
- If the wireless network is listed (it broadcasts its SSID), select it from the list.
- Select Add > Manually create a network profile.
- Enter the following information and select Next.
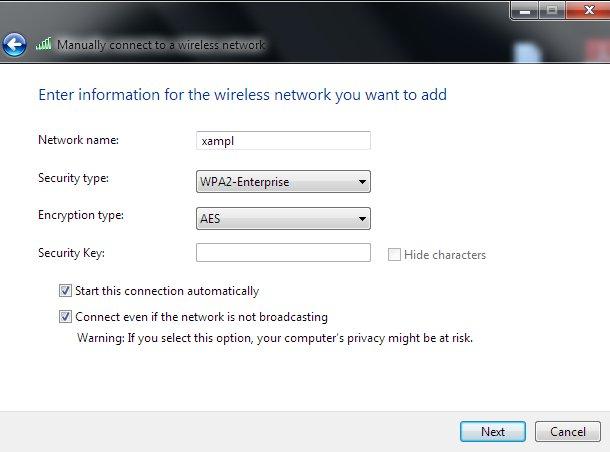
| Network name | Enter the SSID of the wireless network. (Required only if you selected Add.) |
| Security type | WPA2-Enterprise |
| Encryption type | AES |
| Start this connection automatically | Select |
| Connect even if the network is not broadcasting. | Select |
The Wireless Network icon will display a popup requesting that you click to enter credentials for the network. Click on the popup notification.
- In the Enter Credentials window, enter your wireless network User name, Password, and Logon domain (if applicable). Then, select OK.
- Select Change connection settings.
- On the Connection tab, select Connect automatically when this network is in range.
- On the Security tab, select the Microsoft PEAP authentication method and then select Settings.
- Make sure that Validate server_certificate is selected.
- Select the server certificate UTN-USERFirst-Hardware.
- In Select Authentication Method, select Secured Password (EAP-MSCHAPv2).
- Select Configure.
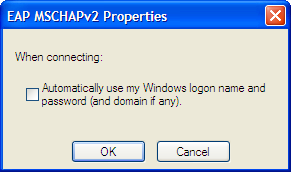
- If your wireless network credentials are the same as your Windows logon credentials, select Automatically use my Windows logon name and password. Otherwise, make sure that this option is not selected.
- Ensure that the remaining options are not selected.
- Select OK. Repeat until you have closed all of the Wireless Network Properties windows.
Copyright © 2018 Fortinet, Inc. All Rights Reserved. | Terms of Service | Privacy Policy
