Example: Generating & downloading a personal certificate from Microsoft Windows 2003 Server
If you are running Microsoft Certificate Services on Microsoft Windows 2003 Server, you can use your server as a CA, to generate and sign personal certificates on behalf of your clients.
As part of signing the certificate, the CA will send the finished personal certificate to your web browser. As a result, when you are finished generating, you must export the certificates from your computer’s trust store in order to deploy the certificates to clients.
To generate a personal certificate in Microsoft Windows 2003 Server
1. On your management computer, start your web browser.
2. Go to:
https://<ca-server_ipv4>/certsrv/
where <ca-server_ipv4> is the IP address of your CA server.
3. Log in as Administrator.
Other accounts may not have sufficient privileges. The
Microsoft Certificate Services home page for your server’s CA should appear.
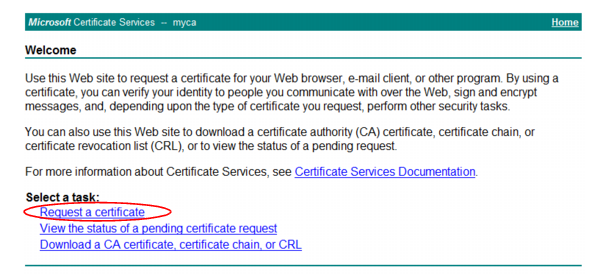
4. Click the Request a certificate link.
The
Request a Certificate page appears.

5. Click the advanced certificate request link.
The
Advanced Certificate Request page appears.
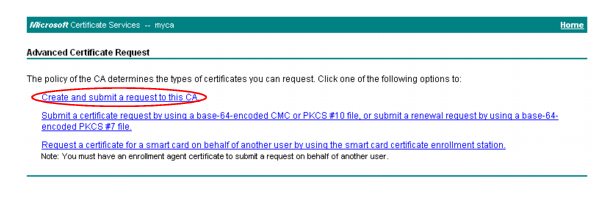
6. Click the Create and submit a request to this CA link.
The
Certificate Request Template appears.
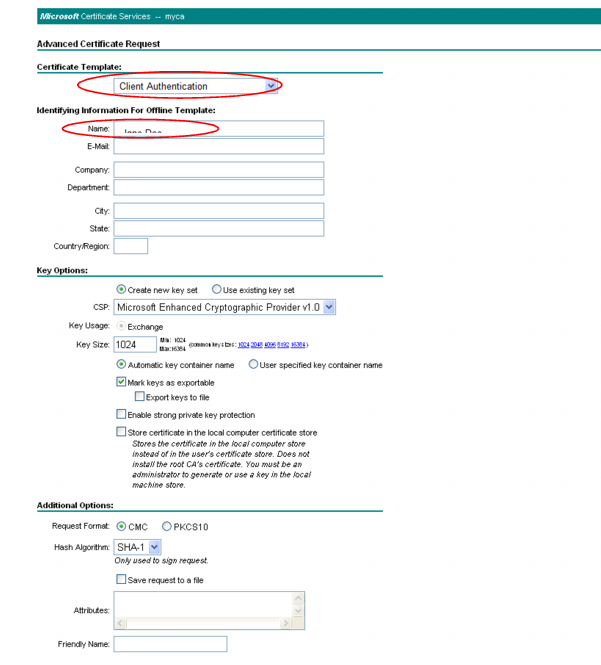
7. In the Certificate Template drop-down list, select the Client Authentication template (or a template that you have created for the purpose using Microsoft Management Console (MMC)).
8. In the Name field, type the name the end-user on behalf of which the client certificate request is being made. This will be the Subject: field in the certificate. Other fields are optional.
9. Click Submit.
The certificate signing request (CSR) is submitted to the CA.
10. If a message appears, warning you that the web site is requesting a new certificate on your behalf, click Yes to proceed.
Once the CA server generates the requested certificate, the
Certificate Issued window appears.
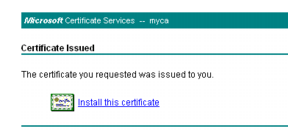
11. Click the Install this certificate link.
Your browser downloads the certificate,
including its private key, and installs it in its trust store. The certificate’s name is the one you specified in step
8.
| Transmit and store any private key backups securely, just as you would for passwords. Failure to store them securely and restrict the private key solely to its intended end-user could allow others to authenticate as that person, compromising the security of your web sites. In the event of potential private key compromise, immediately revoke the corresponding personal certificate. See “Revoking certificates”. |
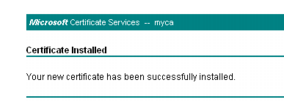
12. If a message appears, warning you that the web site is adding one or more certificates to your computer, click Yes to proceed.
The
Certificate Installed window appears.
13. Return to the
Microsoft Certificate Services (MSCS) home page for your local CA and repeat steps
4 through
12 for each end-user that will use PKI authentication.
To export and transmit a personal certificate from the trust store on Microsoft Windows 7
1. Start Microsoft Internet Explorer 9.
2. Go to Tools [gear icon] > Internet options.
The
Internet Options dialog window appears.
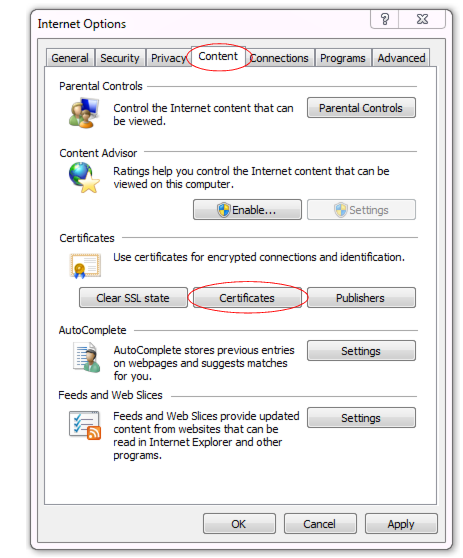
3. Click the Content tab.
4. Click the Certificates button.
The
Certificates dialog window appears. By default, the
Personal tab is front most.
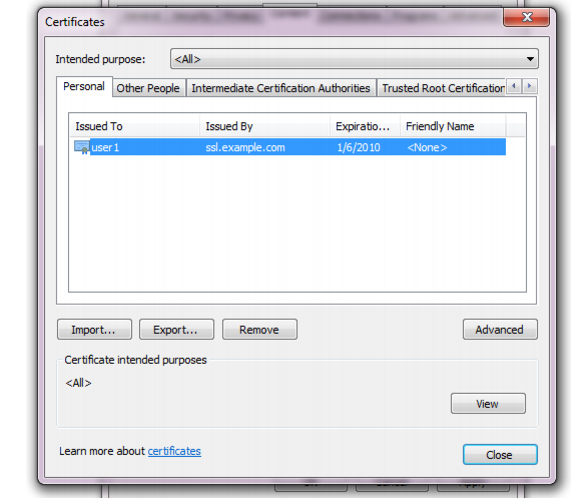
5. Click to select a personal certificate in the list.
6. Click Export.
The Certificate Export Wizard dialog appears.
7. Click Next.
The
Export Private Key step appears.
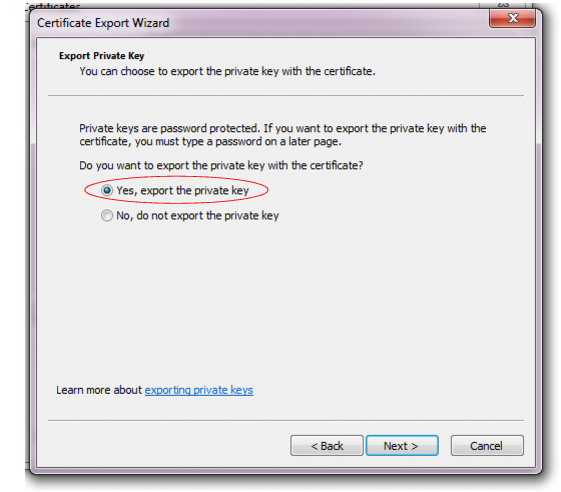
8. Select Yes, export the private key.
The end-user will require his or her private key in order to authenticate. Without that token (or if many people possess that token), identity cannot be confirmed.
| Transmit and store any private key backups securely, just as you would for passwords. Failure to store them securely and restrict the private key solely to its intended end-user could allow others to authenticate as that person, compromising the security of your web sites. In the event of potential private key compromise, immediately revoke the corresponding personal certificate. See “Revoking certificates”. |
9. Click Next.
The
Export File Format step appears.

10. Select Personal Information Exchange - PKCS #12 (.PFX) as the file format.
11. If you need to absolutely guarantee identity (i.e. not even you, the administrator, will have the end-user’s private key installed — only the end-user will), mark the check box named Delete the private key if the export is successful.
For improved performance, do
not include all CA certificates from the personal certificate’s certification path (i.e. the chain of trust or signing chain). Including the signing chain increases the size of the certificate, which slightly increases the amount of time and traffic volume required to transmit the certificate each time to FortiWeb. Instead, upload those CAs’ certificates to the FortiWeb appliance (see
“Uploading trusted CAs’ certificates”).
12. Click Next.
The
Password step appears.
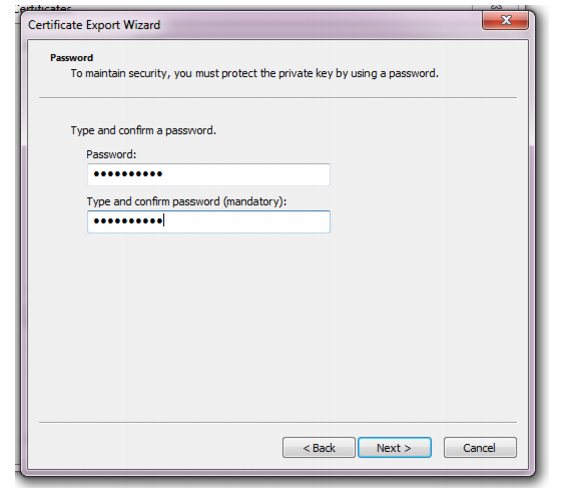
13. Enter and confirm the spelling of the password that will be used to password-protect and encrypt the exported certificate and its private key.
14. Click Next.
The
File to Export step appears.
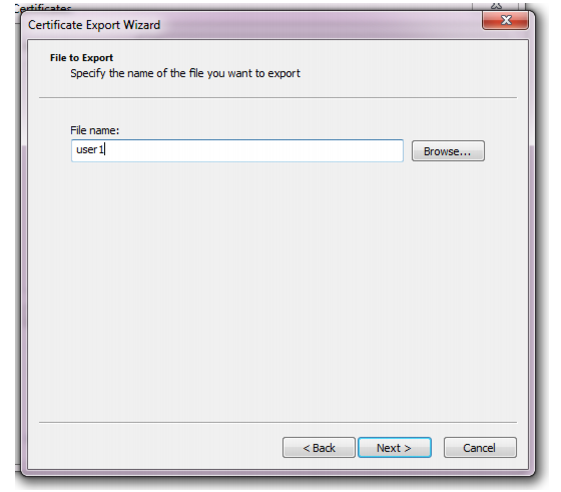
15. In File name, enter a unique file name for the certificate, then click Browse to specify the location where you want to save the exported certificate and private key.
Use a consistent naming convention. This will minimize the likelihood that you confuse one person’s private key with another’s, deliver it to the wrong person, and therefore need to revoke the corresponding certificate and generate a new one.
16. Click Finish to export the certificate and private key.
The certificate and private key are exported in a single file with a .pfx file extension to the location specified in step
15.
If the export is successful, a notice appears.
17. Click OK.
18. Securely transmit both the .pfx file and its password to the end-user, along with instructions on how to install the certificate in his or her web browser’s trust store.
| Only provide the client’s private key to that specific client, and transmit and store any backups securely, just as you would for passwords. Failure to store it securely and restrict the private key solely to its intended end-user could allow others to authenticate as that person, compromising the security of your web sites. In the event of potential private key compromise, immediately revoke the corresponding personal certificate. See “Revoking certificates”. |
For example, you could give him or her a USB key in person and instruct the end-user to double-click the file, or install the .pfx in a Microsoft Active Directory roaming profile. See also
“Example: Importing the personal certificate & private key to a client’s trust store on Microsoft Windows 7”.