Example: Importing the personal certificate & private key to a client’s trust store on Microsoft Windows 7
If you need to import one or two certificates to a person’s computer on his or her behalf, you can manually import the .pfx file.
| If you are importing a clients’ personal certificates to their computers on their behalf, for mass distribution, it may save you time to instead deploy certificates via a script or, if the computer is a member of a Microsoft Active Directory domain, a login script or roaming profile. |
| To harden security, you should also make sure that the browser’s settings are configured to check servers’ certificates (such as FortiWeb’s) with a CRL in case the servers’ certificates become compromised, and must be revoked. |
Methods for importing a certificate to the trust store vary by the client’s browser and operating system. In this section are methods for some popular browsers. For other browsers and operating systems, consult the client’s browser documentation.
To import a client certificate into Microsoft Windows 7
1. Start Microsoft Internet Explorer 9.
Alternatively, if you have a .pfx file, double-click it to open the wizard, then skip to step
6.
2. Go to Tools [gear icon] > Internet options.
The
Internet Options dialog window appears.
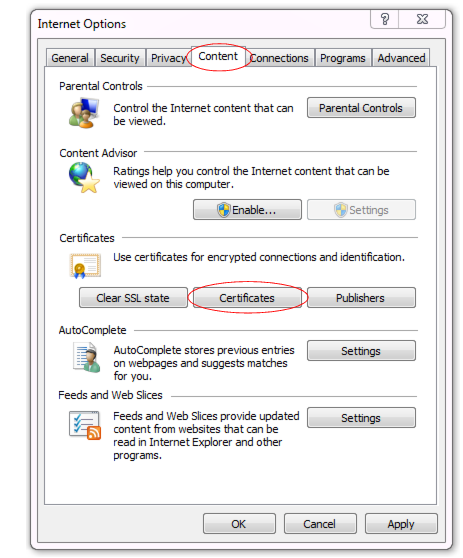
3. Click the Content tab.
4. Click the Certificates button.
The Windows
Certificates store dialog window appears. By default, the
Personal tab is front most.
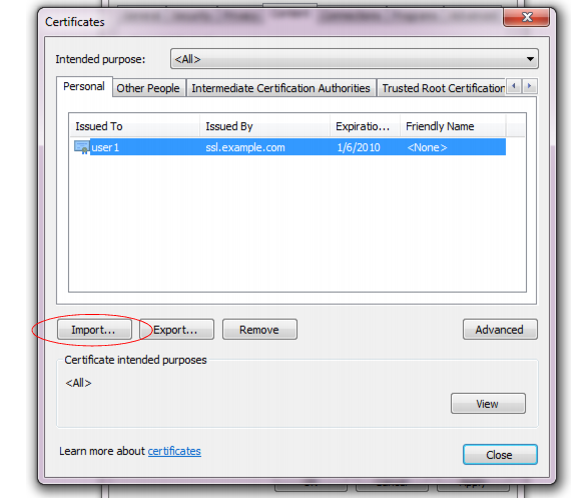
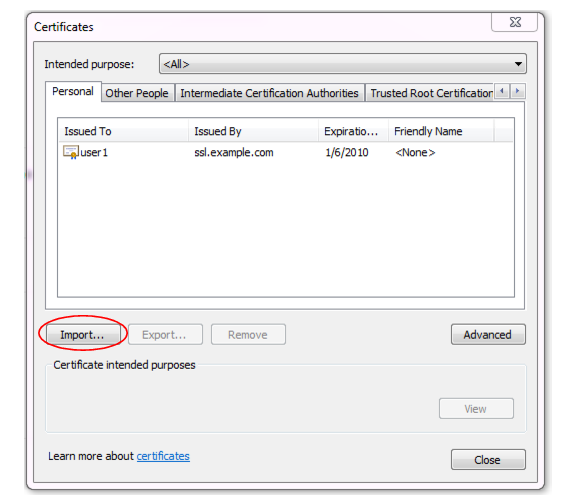
5. Click Import.
The Certificate Import Wizard appears.
6. Click Next.
The
File to Import step appears.

7. If you double-clicked the certificate and private key file to start the wizard, the file is already specified in File name.
Otherwise, click Browse. Go to the location where you downloaded the personal certificate. From Files of type, select Personal Information Exchange (*.pfx, *.p12), All Files (*.*), or whatever file format was used to export the certificate. Finally, select the certificate file, and click Open.
8. Click Next.
The
Password step appears.
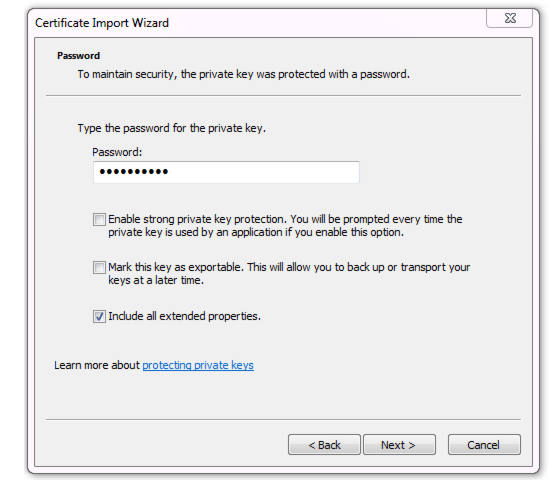
9. In Password, type the password that was used to secure the private key. (If the certificate was made on your behalf by an administrator, this is the password that the administrator used when exporting your .pfx file. He or she must provide this password to you.)
10. Click Next.
The
Certificate Store step appears.
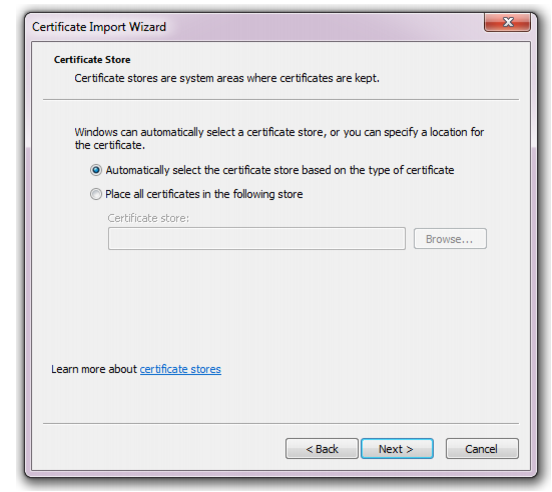
11. Select either:
• Automatically select the certificate store based on the type of certificate — Your personal certificate will automatically be placed in the default personal certificate store, as long as it was created correctly.
• Place all certificates in the following store — Click the Browse button to manually indicate your personal certificate store.
12. Click Next.
13. Click Finish.
If the import is successful, a notification appears.
14. Click OK.
The certificate and private key are now imported to the store of certificates specified in step
11, which should be the personal certificate store. The person’s browser should now be able to present his or her personal certificate whenever a server requires PKI authentication.
15. Click the
Advanced tab.
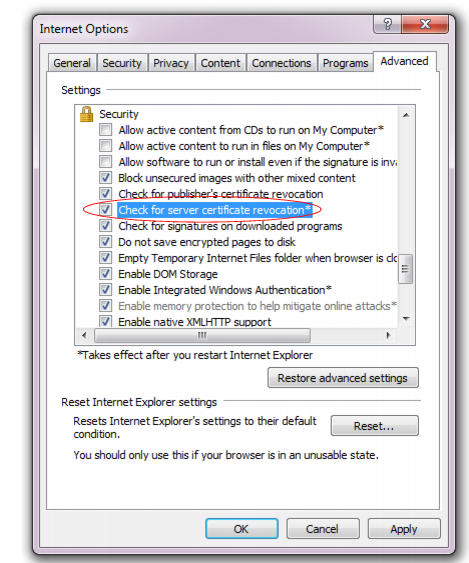
16. In the Settings area, scroll down to the Security settings.
17. Enable Check for server certificate revocation.
18. Click OK to save your settings and close the Internet Options dialog window.
19. Close Internet Explorer.
To import a client certificate into Google Chrome on Microsoft Windows 7
1. Start Google Chrome.
2. Click the wrench icon in the top right (Customize and control Google Chrome), then select Settings... from the drop-down menu that appears. (On Mac OS X, this option is named Preferences instead.)
The dialog for configuring Google Chrome settings appears. On the left hand navigation menu, the Settings section is selected.
3. At the bottom of the page, click
Show advanced settings to reveal additional settings, including, towards the bottom of the page,
HTTP/SSL.
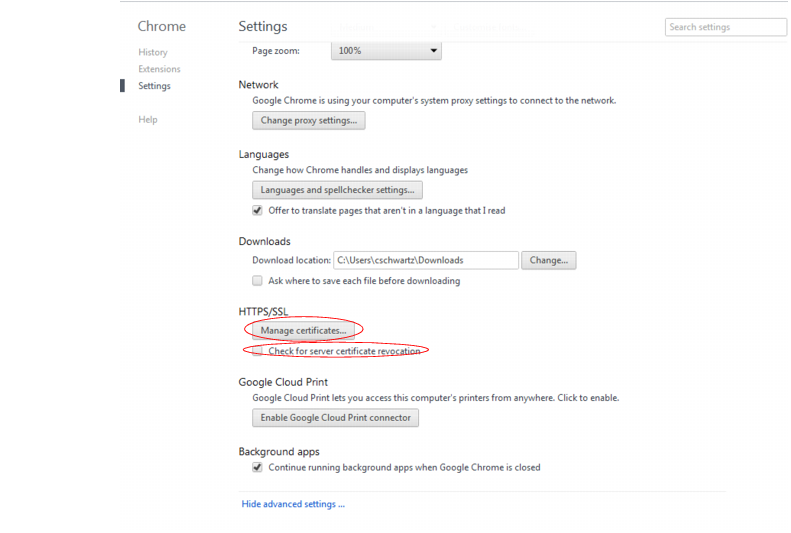
4. In the HTTPS/SSL area, enable Check for certificate revocation.
5. Click the Manage certificates button.
The Windows
Certificates store dialog window appears. (In Mac OS X, this is the Keychain Access application instead.) By default, the
Personal tab is front most. Continue with step
5 in
“To import a client certificate into Microsoft Windows 7”.