Grouping trusted CAs’ certificates
CAs must belong to a group in order to be selected either in a certificate verification rule for PKI authentication or a Server Name Indication (SNI) configuration (see
“Configuring FortiWeb to validate client certificates” and
“Allowing FortiWeb to support multiple server certificates”).
To configure a CA certificate group
1. Before you can create a CA group, you must upload at least one of the certificate authority (CA) certificates that you want to add to the group. For details, see
“Uploading trusted CAs’ certificates”.
2. Go to System > Certificates > CA Group.
To access this part of the web UI, your administrator's account access profile must have
Read and
Write permission to items in the
Admin Users category. For details, see
“Permissions”.
3. Click Create New.
A dialog appears.
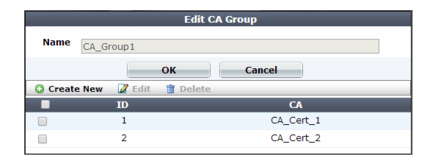
4. In Name, type a name that can be referenced by other parts of the configuration. Do not use spaces or special characters. The maximum length is 35 characters.
5. Click OK.
6. Click Create New.
A dialog appears.
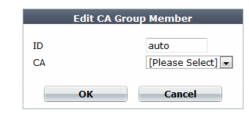
7. In ID, enter the index number of the host entry within the group, or keep the field’s default value of auto to let the FortiWeb appliance automatically assign the next available index number.
8. In CA, select the name of a certificate authority’s certificate that you previously uploaded and want to add to the group.
9. Click OK.
10. Repeat the previous steps for each CA that you want to add to the group.
See also