Backups
Once you have tested your basic installation and verified that it functions correctly, create a backup. This “clean” backup can be used to:
• troubleshoot a non-functional configuration by comparing it with this functional baseline (via a tool such as
diff)
• batch-configure FortiADC appliances by editing the file in a plain text editor, then uploading the finalized configuration to multiple appliances (see
“Restoring a previous configuration”)
After you have a working deployment, back up the configuration again after any changes. This will ensure that you can rapidly restore your configuration exactly to its previous state if a change does not work as planned.
Your deployment’s configuration is comprised of a few separate components. To make a complete configuration backup, you must include the:
• Core configuration file, which includes certificates and private keys, if any
• Configuration files on your servers (see the documentation for your servers’ operating systems or your preferred third-party backup software)
| Fortinet strongly recommends that you password-encrypt this backup, and store it in a secure location. This method includes sensitive data such as your HTTPS certificates’ private keys. |
There are multiple methods that you can use to create a FortiADC configuration backup. Use whichever one suits your needs:
To back up the configuration via the web UI
1. Log in to the web UI as the admin administrator.
Other administrator accounts may not have the required permissions.
2. Go to System > Maintenance > Backup & Restore.
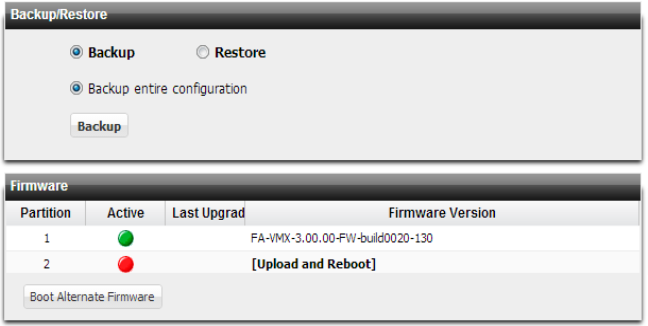
3. In the Backup/Restore area, select Backup.
4. Click the Backup button.
If your browser prompts you, navigate to the folder where you want to save the configuration file. Click Save.
Your browser downloads the configuration file. Time required varies by the size of the configuration and the specifications of the appliance’s hardware as well as the speed of your network connection, but could take several minutes.
To back up the configuration via the CLI to a TFTP server
1. If necessary, start your TFTP server. (If you do not have one, you can temporarily install and run one such as
tftpd (
Windows,
Mac OS X, or
Linux) on your management computer.)
| Because TFTP is not secure, and because it does not support authentication and could allow anyone to have read and write access, you should only run it on trusted administrator-only networks, never on computers directly connected to the Internet. If possible, immediately turn off tftpd off when you are done. |
2. Log in to the CLI as the admin administrator using either the local console, the CLI Console widget in the web UI, or an SSH or Telnet connection.
Other administrator accounts do not have the required permissions.
3. Enter the following command:
execute backup full-config tftp <file-name_str> <server_ipv4>
where:
Variable | Description |
<file-name_str> | Type the file name of the backup. |
<server_ipv4> | Type either the IP address of the server. Note: Domain names are currently not valid input with this command if you choose the FTP protocol. |
For example, the following command backs up a FortiADC 200D’s configuration file to a file named FortiADC-200d.conf in the current directory on the TFTP server 192.0.2.1, encrypting the backup file using the salt string P@ssw0rd1:
FortiADC-200d # exec backup full-config FortiADC-200d.conf tftp 192.0.2.1 P@ssw0rd1
Time required varies by the size of the database and the specifications of the appliance’s hardware, but could take several minutes.