Figure 244: Create event handler page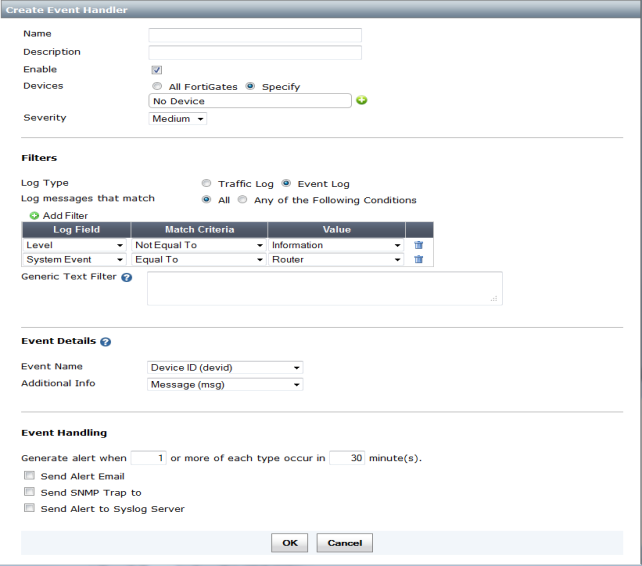
Name | Enter a name for the event handler. | ||
Description | Enter a description for the event handler. | ||
Enable | Select to enable the event handler. | ||
Devices | Select All FortiGates or select Specify and use the plus (+) symbol to add devices or log arrays. Note: When creating a new event handler for FortiMail and FortiWeb, the All FortiGates option is a bug. | ||
Severity | Select the severity from the drop-down list. Select one of the following: Critical, High, Medium, or Low. | ||
Filters | |||
Log Type | Select Event Log. | ||
Log message that match | Select either All or Any of the Following Conditions. | ||
Add Filter | Select the plus (+) symbol to add log filters. | ||
Level | Select Level from the Log Field drop-down list. Select either Equal To, Not Equal To, Greater Than or Equal To, Less Than or Equal To, Greater Than, or Less Than in the Match Criteria drop-down list. Select the logging level (Emergency, Alert, Critical, Error, Warning, Notice, Information, Debug) from the Value drop-down list. Select the garbage can icon to delete the filter. | ||
System Event | Select System Event from the Log Field drop-down list. Select either Equal To or Not Equal To in the Match Criteria drop-down list. Select either System, Router, VPN, User, WAN Optimization or Wireless from the Value drop-down list. Select the garbage can icon to delete the filter. | ||
Generic Text Filter | Enter a generic text filter. For more information on creating a text filter select the help icon. | ||
Event Details | Only available when you have one Security Event filter or the Log Type is Event Log. | ||
Event Name | Select an event name from the drop-down list. The options in the list are dependent on the specific security event selected. | ||
Additional Info | Select additional information from the drop-down list. The options in the list are dependent on the specific security event selected. | ||
Event Handling | |||
Generate alerts when ... | Enter threshold values to generate alerts and ‘x’ or more of each type occur in ‘x’ minutes. | ||
Send Alert Email | Select the checkbox to enable. Enter an email address in the To and From text fields and select the email server from the drop-down list. To create a new mail server, select the System Settings tab, select Advanced > Mail Server, and select Create New in the toolbar. | ||
Send SNMP Trap to | Select the checkbox to enable this feature. Select an SNMP community from the drop-down list. To create a new SNMP community, select the System Settings tab, select Advanced > SNMP v1/v2, select the checkbox to enable the SNMP agent. In the Communities section, select Create New in the toolbar. | ||
Send Alert to Syslog Server | Select the checkbox to enable this feature. Select a syslog server from the drop-down list. To create a syslog server, select the System Settings tab, select Advanced > Syslog Server, and select Create New in the toolbar. | ||
Select Select All in the right-click menu to select all alert event entries. You can then select Delete in the toolbar to delete the selected entries. |
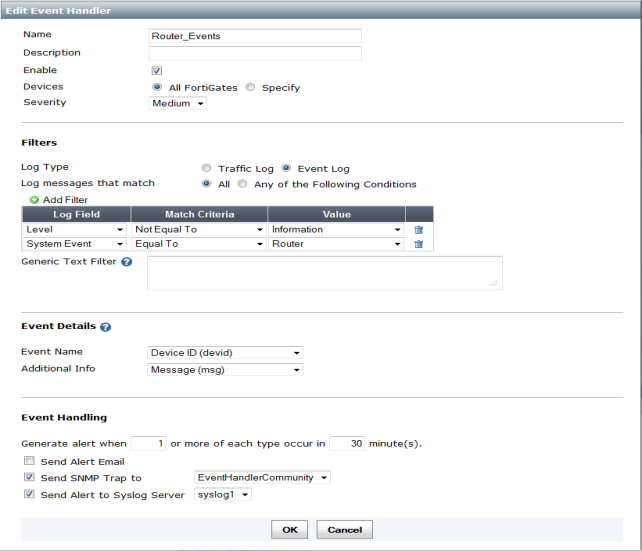
The default event handlers cannot be deleted. Use the right-click menu to enable or disable these event handlers. |