To configure, maintain, and administer the FortiWeb appliance, you need to connect to it. There are two methods:
Access to the CLI and/or web UI through your network is not yet configured if:
In these cases, you must initially connect your computer directly to FortiWeb, using the default settings.

|
|
If you are installing a FortiWeb-VM virtual appliance, you should have already connected if you followed the instructions in the FortiWeb-VM Install Guide. If so, you can skip this chapter and continue with Changing the “admin” account password. |
Via the direct connection, you can use the web UI or CLI to configure FortiWeb’s basic network settings. Once this is done, you will be able to place FortiWeb on your network, and use FortiWeb through your network.
You can connect to the web UI using its default settings.
| Network Interface | port1 |
| URL | https://192.168.1.99/ |
| Administrator Account | admin |
| Password |
1. On your management computer, configure the Ethernet port with the static IP address 192.168.1.2 with a netmask of 255.255.255.0.
2. Using the Ethernet cable, connect your computer’s Ethernet port to the FortiWeb appliance’s port1.
3. Start your browser and enter the following URL:
(Remember to include the “s” in https://.)
Your browser connects the appliance.
If you do not see the login page due to an SSL cipher error during the connection, and you are connecting to the trial license of FortiWeb-VM or a LENC version of FortiWeb, then your browser must be configured to accept encryption of 64-bit strength or less during the handshake. (RC2, RC4, and DES with less than 64-bit strength is supported. AES and 3DES is not supported in these versions.)
For example, in Mozilla Firefox, if you receive this error message:
you may need to enter about:config in the URL bar, then set security.ssl3.rsa.rc4_40_md5 to true.
To support HTTPS authentication, the FortiWeb appliance ships with a self-signed security certificate, which it presents to clients whenever they initiate an HTTPS connection to the FortiWeb appliance. When you connect, depending on your web browser and prior access of the FortiWeb appliance, your browser might display two security warnings related to this certificate:
Both warnings are normal for the default certificate. SSL v3 and TLS v1.0 are supported.
4. Verify and accept the certificate, either permanently (the web browser will not display the self-signing warning again) or temporarily. You cannot log in until you accept the certificate.
For details on accepting the certificate, see the documentation for your web browser.
5. In the Name field, type admin, then click Login. (In its default state, there is no password for this account.)
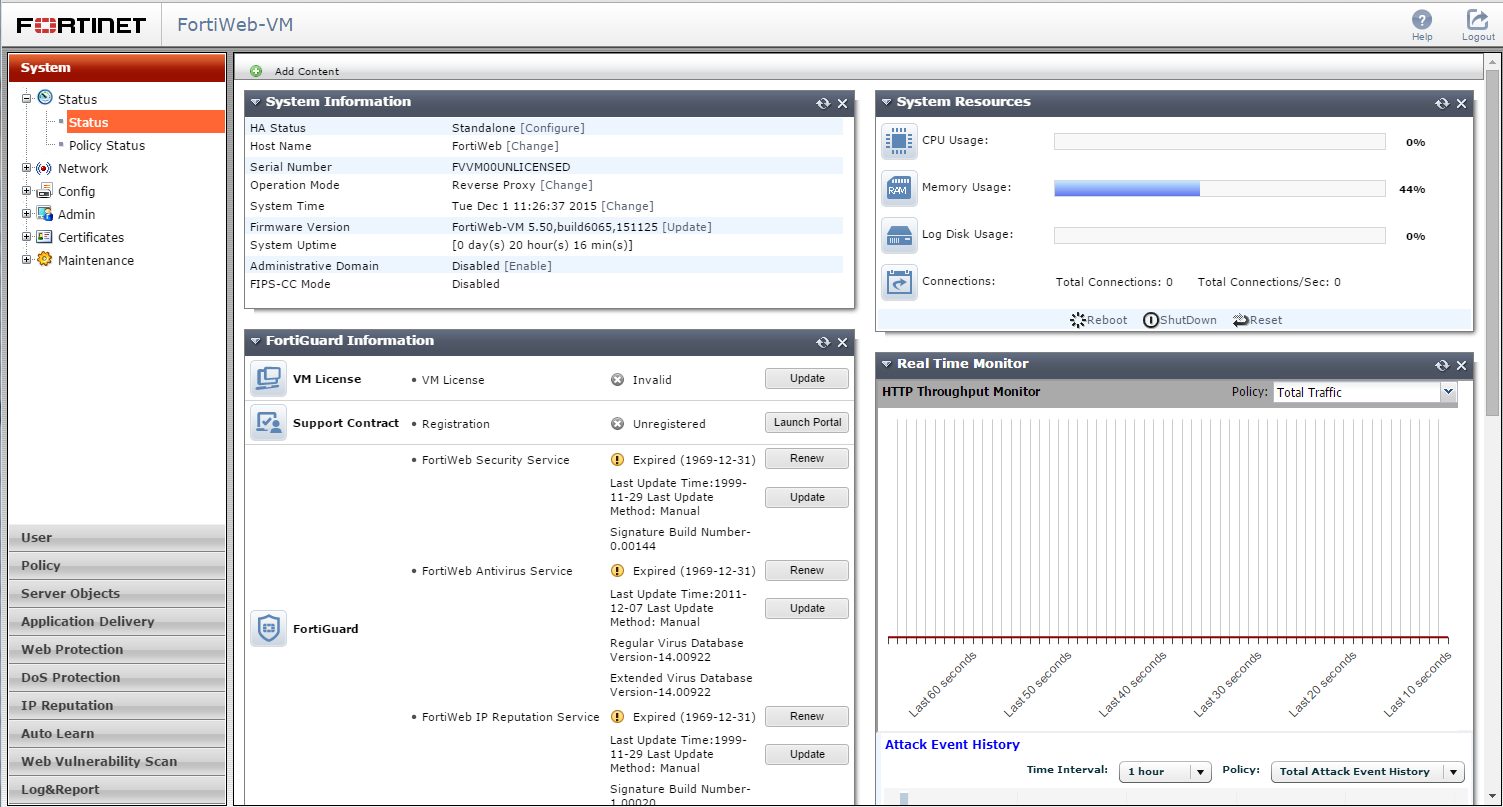
Login credentials entered are encrypted before they are sent to the FortiWeb appliance. If your login is successful, the web UI appears. To continue by updating the firmware, see Updating the firmware. Otherwise, to continue by setting an administrative password, see Changing the “admin” account password.
Using its default settings, you can access the CLI from your management computer in two ways:
Secure Shell (SSH) provides both secure authentication and secure communications to the CLI. Supported SSH protocol versions, ciphers, and bit strengths include SSH version 2 with AES-128, 3DES, Blowfish, and SHA-1.
| Network Interface | port1 |
| IP Address | 192.168.1.99 |
| SSH Port Number | 22 |
| Administrator Account | admin |
| Password |
Alternatively, you can access the CLI via SSH and a public-private key pair. However, to use this option, you first access the CLI using the CLI Console widget (part of the web UI status dashboard) or via SSH and password to upload the public key. See To connect to the CLI using an SSH connection and public-private key pair.
|
|
If you are not connecting for the first time, nor have you just reset the configuration to its default state or restored the firmware, administrative access settings may have already been configured. In this case, access the CLI using the IP address, administrative access protocol, administrator account and password already configured, instead of the default settings. |
|
|
The following procedures describe connection using PuTTY software; steps may vary with other terminal emulators. |
1. Using the RJ-45-to-DB-9 or null modem cable, connect your computer’s serial communications (COM) port to the FortiWeb appliance’s console port.
2. Verify that the FortiWeb appliance is powered on.
3. On your management computer, start PuTTY.
4. In the Category tree on the left, go to Connection > Serial and configure the following:
| Serial line to connect to | COM1 (or, if your computer has multiple serial ports, the name of the connected serial port) |
| Speed (baud) | 9600 |
| Data bits | 8 |
| Stop bits | 1 |
| Parity | None |
| Flow control | None |
5. In the Category tree on the left, go to Session (not the sub-node, Logging) and from Connection type, select Serial.
6. Click Open.
7. Press the Enter key to initiate a connection.
8. Type admin then press Enter twice. (In its default state, there is no password for the admin account.)
The CLI displays the following text, followed by a command line prompt:
Welcome!
You can now enter commands. To continue by updating the firmware, see Updating the firmware. Otherwise, to continue by setting an administrative password, see Changing the “admin” account password. For information about how to use the CLI, see the FortiWeb CLI Reference.
1. On your management computer, configure the Ethernet port with the static IP address 192.168.1.2 with a netmask of 255.255.255.0.
2. Using the Ethernet cable, connect your computer’s Ethernet port to the FortiWeb appliance’s port1.
3. Verify that the FortiWeb appliance is powered on.
4. On your management computer, start PuTTY.
Initially, the Session category of settings is displayed.
5. In Host Name (or IP Address), type 192.168.1.99.
6. In Port, type 22.
7. From Connection type, select SSH.
8. Select Open.
The SSH client connects to the FortiWeb appliance.
The SSH client may display a warning if this is the first time you are connecting to the FortiWeb appliance and its SSH key is not yet recognized by your SSH client, or if you have previously connected to the FortiWeb appliance but it used a different IP address or SSH key. If your management computer is directly connected to the FortiWeb appliance with no network hosts between them, this is normal.
9. Click Yes to verify the fingerprint and accept the FortiWeb appliance’s SSH key. You cannot log in until you accept the key.
The CLI displays a login prompt.
10. Type admin and press Enter. (by default, this account has no password..)
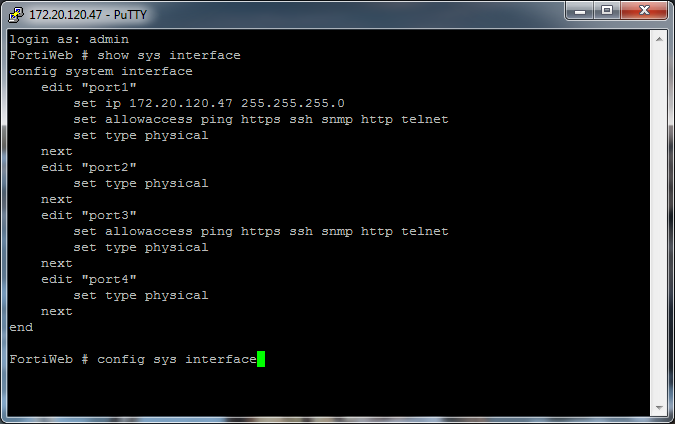
The CLI displays a prompt, such as:
FortiWeb#
You can now enter commands. To continue by updating the firmware, see Updating the firmware. Otherwise, to continue by setting an administrative password, see Changing the “admin” account password.
For information about how to use the CLI, see the FortiWeb CLI Reference.
1. Create a public-private key pair using a key generator.
2. Save the private key to the location on your management computer where your SSH keys are stored.
3. Connect to the CLI using either the CLI Console widget on the web UI dashboard or via anSSH connection (see To connect to the CLI using an SSH connection and password).
4. Use the following CLI command to copy the public key to FortiWeb using the CLI commands:
config system admin
edit admin
set sshkey <sshkey>
end
where <sshkey> is the public key data.
The following data is an example of an ssh public key:
“ssh-rsa
AAAAB3NzaC1yc2EAAAADAQABAAABAQDJWw9hWG6KC+RYViLmPVN283mNIwOVE9EyO+Rk SsQgqZzc/NkzWpR4A3f6egYUZ1TY3ERYJ350zpvtmVoM8sbtDyLjuj/OYqZWLr06jjd+ NBKNbl9crqGdcoi+5WYZ9qo8NKgW4yXrmcNzdM46c708mrKNc9cfVlCk2kJSNNEY8FRX fm3Ge7y0aNRuBBQ6n9LkYWSoW+AETwNt8ZS0/9tJ9gV6V6J4071Y8xSfM1VDJQwdneuX CpVrs3Fg1DijUdritp7W8ptxqgbLvdkRObaTvpEGSl6rBPZcsqQFCCgn1QHdE9UxoPA7 jpSrEZ/Gkh63kz5KC6dZgUg0G2IrIgXt”
5. To log in using the private key, open a connection to the CLI using SSH (see To connect to the CLI using an SSH connection and password).
6. When FortiWeb displays the CLI prompt, use the following command to log in using the public key:
ssh -i <privatekey>
where <privatekey> is the name of the private key stored on your management computer.
For information about how to use the CLI, see the FortiWeb CLI Reference.