
Transparent proxy configuration
To implement the Transparent proxy, go to System > Settings and scroll down to Operations Settings and set the inspection mode to Proxy.

Then go to System > Feature Visibility and enable Explicit Proxy.
![]()
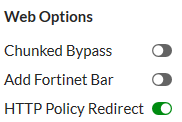
Then go to Security Profiles > Proxy Options, edit a proxy options profile and under Web Options enable HTTP Policy Redirect.
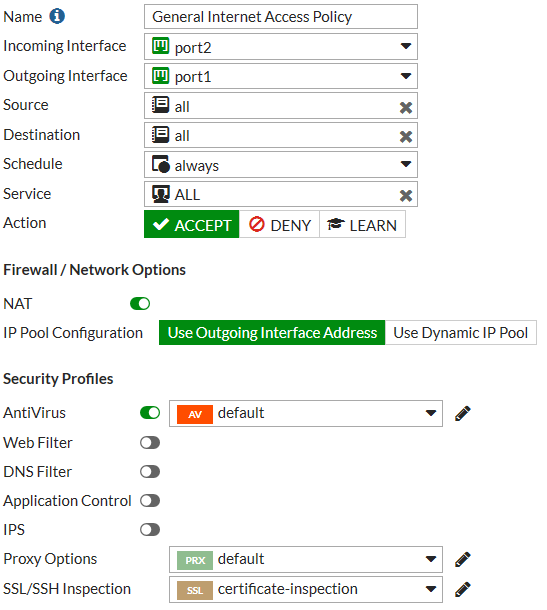
Then go to Policy & Objects > IPv4 Policy and create or edit a policy that accepts traffic that you want to apply web authentication to. This can be a general policy that accepts many different types of traffic as long as it also accepts the web traffic that you want to apply web authentication to.
Select a Security Profile and select the Proxy Options profile that you enabled HTTP Policy Redirect for.
Then go to Policy & Objects > Proxy Policy create a Transparent Proxy policy to accept the traffic that you want to apply web authentication to. Set the Proxy Type to Transparent Web. The incoming interface, outgoing interface, destination address, and schedule should either match or be a subset of the same options defined in the IPv4 policy. Addresses added to the Source must match or be a subset of the source addresses added to the IPv4 policy. You can also add the users to be authenticated by the transparent policy to the source field.
Select other transparent policy options as required.
![]()
CLI changes due to addition of transparent proxy
The adding of Transparent Proxy to the existing proxy types has required some changes, removals, moves and additions to the CLI.
Changes:
| Previous | New |
|---|---|
config firewall explicit-proxy-policy
|
config firewall proxy-policy
|
config firewall explicit-proxy-address
|
config firewall proxy-address
|
config firewall explicit-proxy-addrgrp
|
config firewall proxy-addrgrp
|
|
config firewall explicit-proxy-policy edit <policy ID> set proxy web end |
config firewall proxy-policy edit <policy ID> set proxy explicit-web end |
Copyright © 2022 Fortinet, Inc. All Rights Reserved. | Terms of Service | Privacy Policy
