Add a device using the add device wizard (Discovery mode)
The following steps will guide you through the Add Device wizard phases to add a device using Discovery mode.
To add a device using Add Device wizard (Discovery mode):
1. Launch the Add Device wizard.
2. Select Discover, and enable Import Device on the Login phase page.
3. Enter the IP address, user name and password for the device, and select Next.
4. The FortiManager will probe the IP address on your network to discover device details, including:
• IP address
• Administrative user name
• Device model
• Firmware version (build)
• Serial number
• High Availability mode
Only stop on Add/Import Error | Enable the option Only stop on Add/Import Error, if you would like the wizard to stop when encountering this error. |
5. Select Next to continue. The Add Device page is displayed.
6. Configure the following settings:
Name | Enter a unique name for the device. The device name cannot contain spaces or special characters. |
Description | Enter a description of the device (optional). |
Disk Log Quota (min. 100MB) | Enter a value for the disk log quota in MB. The minimum value is 100MB. The total available space in MB is listed to the right of the text field. |
When Allocated Disk Space is Full | Specify what action to take when the disk space is full: • Overwrite Oldest Logs • Stop Logging |
Log Storage | Select either Standalone Logs or Log Array. When selecting Log Array, select the log array to associate with the device from the drop-down list or select create new to add a new log array entry. This option is available when Device Type is FortiGate, FortiSwitch, or FortiWeb. |
Device Permissions | Specify device permissions: • Logs • DLP Archive • Quarantine • IPS Packet Log These options are available when Device Type is FortiGate, FortiSwitch, or FortiWeb. |
Central FortiAP | Enable or disable central FortiAP management. This option is available when Device Type is FortiGate. |
Central Endpoint | Enable or disable central endpoint control. Select Specify and select the groups that you want the device to belong to. This option is available when Device Type is FortiGate. |
Add to Groups | Select to add the device to any predefined groups. This option is available when Device Type is FortiGate, FortiSwitch, or FortiWeb. |
Other Device Information | Enter other device information (optional), including: • Company/Organization • Contact • City • Province/State • Country |
7. Select Next.
The wizard will proceed to discover the device, and perform some or all of the following checks:
• Discovering device
• Creating device database
• Retrieving high availability status
• Initializing configuration database
• Retrieving interface information
• Updating high availability status
• Retrieving configuration
• Loading to database
• Creating initial configuration file
• Retrieving IPS signature information
• Retrieving support data
• Updating group membership
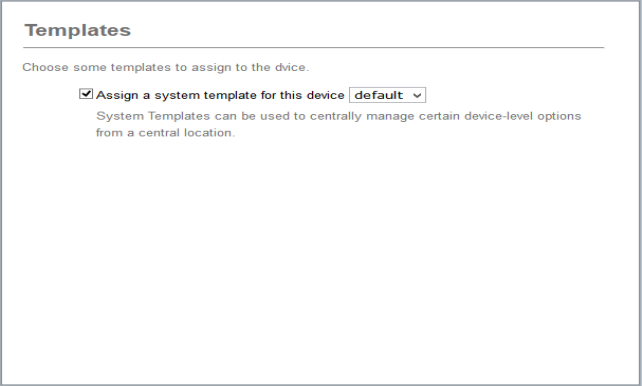
8. System templates can be used to centrally manage certain device-level options from a central location. You can assign a system template using the drop-down menu. Alternatively, you can select to configure all settings per-device inside
Device Manager. For more information, see
“Provisioning Templates”.
9. Select Next to continue.
If VDOMs are not enabled on the device, the wizard will skip the VDOM phase. You can Select to import each VDOM step by step, one at a time, or automatically import all VDOMs.
The following import options are available:
Import Options | The wizard will detect if the device contains virtual domains (VDOMs). You can select the behavior for FortiManager to take to import these VDOMs. Import options include: • Import each VDOM step by step • Import VDOM one at a time • Automatically import all VDOMs |
Table 13: Import virtual domains phase

10. You can use the global zone map section of the wizard to map your dynamic interface zones.
| When importing configurations from a device, all enabled interfaces require a mapping. |
11. Select Next to continue. The wizard will then perform a policy search to find all policies in preparation for importation into FortiManager’s database. Once this step is complete, you will be shown a summary of the policies. Choose a folder on the drop-down list, enter a new policy package name, and select the policies you would like to import from the list. You can also select to import only policy dependent objects or import all objects.
12. Configure the following options:
Folder | Select the folder using the drop-down list. |
Policy Package Name | Enter a Policy Package Name (if required). |
Policy Selection | |
| Import All | Select to import all policies. |
| Select Policies and Profile Groups to Import | Select to import specific policies and profile groups on the tree-menu. |
Object Selection | |
| Import only policy dependent objects | Select to import policy dependent objects only for the device. |
| Import all objects | Select to import all objects for the selected device. |
13. Select Next to continue. The wizard then searches the unit for objects to import, and reports any conflicts it detects. If conflicts are detected, you can decide whether to use the FortiGate value or the FortiManager value.
14. If conflicts occur, you can scroll down on this page to download the conflict file. This file is HTML-based and provides details of conflicts.
15. Select Next.
The objects that are to be imported will be shown.
16. Select Next to import policies and objects into the database.
17. Select Next.
The wizard will present a message Discovered Device Added Successfully and provides a detailed summary of the import. You can select to download the import report. This report is only available on this page.
18. Select Finish to close the wizard.