Figure 276: Cover page settings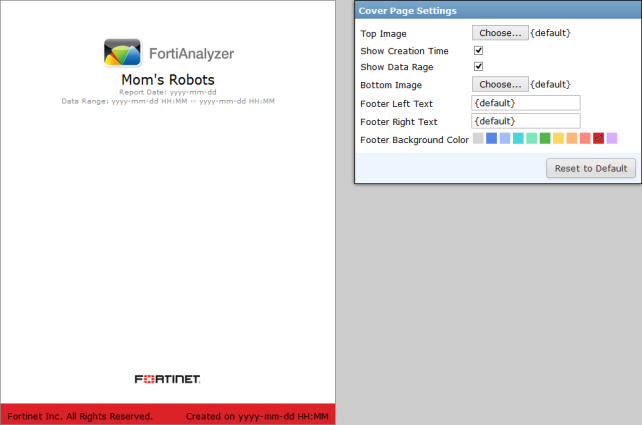
Top Image | Select an image, or select Upload to find an image on the management computer, then select OK to add the image at the top of the cover page. |
Show Creation Time | Select the checkbox to print the report date on the cover page. |
Show Data Range | Select the checkbox to print the data range on the cover page. |
Bottom Image | Select an image, or select Upload to find an image on the management computer, then select OK to add the image at the bottom of the cover page. |
Footer Left Text | Edit the text printed in the left hand footer of the cover page. |
Footer Right Text | Edit the text printed in the left hand footer of the cover page. {default} prints the report creation date and time. |
Footer Background Color | Select the cover page footer background color from the palette. |
Reset to Default | Select to reset the cover page settings to their default settings. |