Configuring administrator profiles
You can modify one of the pre-defined profiles or create a custom profile if needed. Only administrators with full system privileges can modify the administrator profiles.
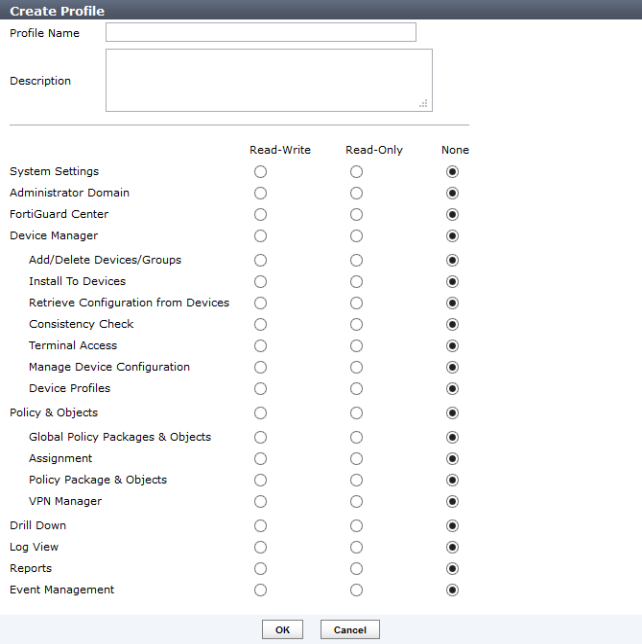
To create a custom profile:
1. Go to System Settings > Admin > Profile and select Create New. The Create Profile dialog box appears.
2. Configure the following settings:
Profile Name | Enter a name for this profile. |
Description | Enter a description for this profile. While not a requirement, a description can help to know what the profiles is for or the levels it is set to. |
System Settings | Select None, Read Only, or Read-Write access. |
Administrator Domain | Select None, Read Only, or Read-Write access. |
Device Manager | Select None, Read Only, or Read-Write access for categories as required. |
Policy & Objects | Select None, Read Only, or Read-Write access for categories as required. |
Drill Down | Select None, Read Only, or Read-Write access. |
Log View | Select None, Read Only, or Read-Write access. |
Reports | Select None, Read Only, or Read-Write access. |
Event Management | Select None, Read Only, or Read-Write access. |
3. Select OK to save the new profile.
To modify an existing profile:
1. Go to System Settings > Admin > Profile.
2. In the Profile column, double-click on the name of the profile you want to change. The Edit Profile dialog box appears, containing the same information as when creating a new profile.
3. Configure the appropriate changes and then select OK to save the settings.
To delete a profile:
1. Go to System Settings > Admin > Profile.
2. Select the check box of the custom profile you want to delete and then select the Delete icon in the toolbar. You can only delete custom profiles when they are not applied to any administrators.
3. In the confirmation dialog box that appears, select OK to delete the profile.