Step 6: Configure a basic server load balancing policy
A FortiADC server load balancing policy has many custom configuration options. You can leverage the predefined health check, server profile, and load balancing method configurations to get started in two basic steps:
1. Configure the real server pool.
2. Configure the virtual server features and options.
For complete information on server load balancing features, start with
“Server load balancing basics”.
To configure the server pool:
1. Go to Server Load Balance > Real Server to display the configuration page.
2. Click
Add to display the configuration editor. See
Figure 12.
3. Complete the basic configuration and click Save.
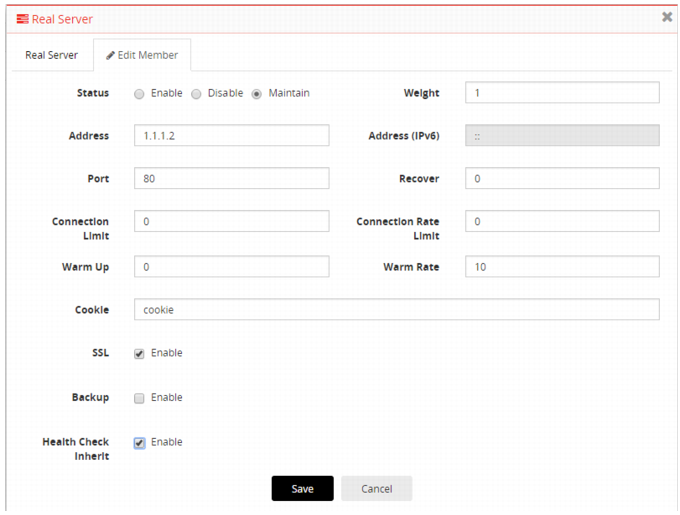
4. Click the Member tab to add members to the server pool.
5. Click
Add to display the configuration editor. See
Figure 13.
6. Complete the member configuration and click Save.
For detailed information, refer to the online help or see
“Configuring pools of real servers”.
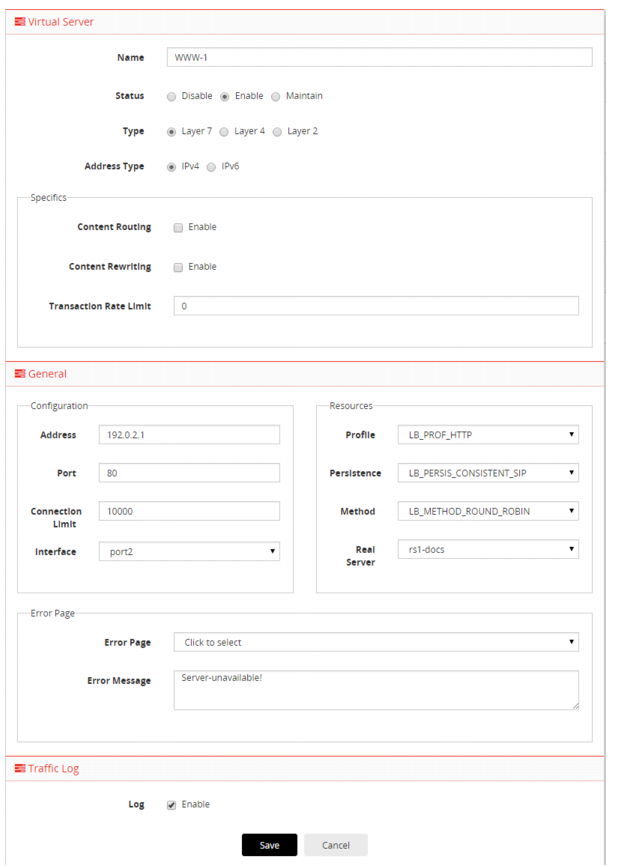
To configure the virtual server:
1. Go to Server Load Balance > Virtual Server to display the configuration page.
2. Click
Add to display the configuration editor. See
Figure 14.
3. Complete the configuration and click Save.
For detailed information, refer to the online help or see
“Configuring virtual servers”.