Step 3: Configure basic network settings
The system supports network settings for various environments.
To get started, you configure the following basic settings:
• Administrator password—You must change the password for the admin account.
• System date and time—We recommend you use NTP to maintain the system time.
• Network interfaces—You must configure interfaces to receive and forward the network traffic to and from the destination servers.
• DNS—You must specify a primary and secondary server for system DNS lookups.
Before you begin:
• You must know the IP address for the NTP servers your network uses to maintain system time.
• You must know the IP addresses that have been provisioned for the traffic interfaces for your FortiADC deployment.
• You must know the IP address for the primary and secondary DNS servers your network uses for DNS resolution.
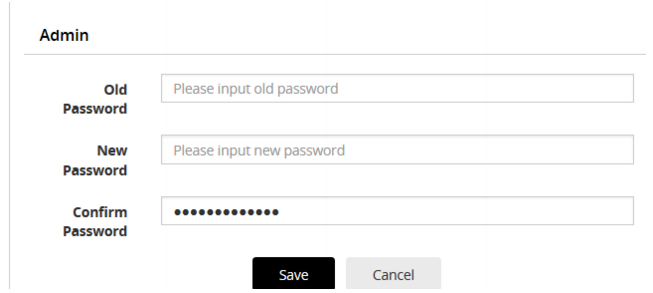
To change the admin password:
1. Go to System > Administrator to display the configuration page.
2. Double-click the key icon

in the row for the user
admin to display the change password editor. See
Figure 7.
3. Change the password and save the configuration.
For detailed information on configuring administrator accounts, refer to the online help or see
“Managing administrator users”.
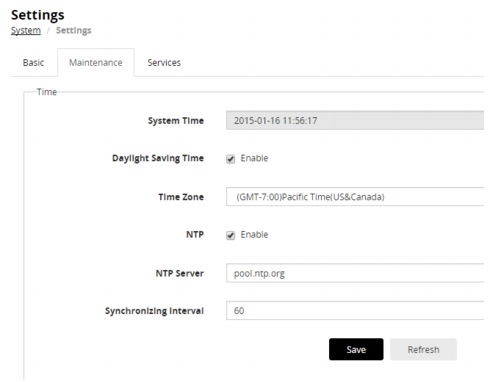
To configure system time:
1. Go to System > Settings.
2. Click the
Maintenance tab to display the configuration page. See
Figure 8.
3. Enter NTP settings and save the configuration.
For detailed information, refer to the online help or see
“Configuring system time”.
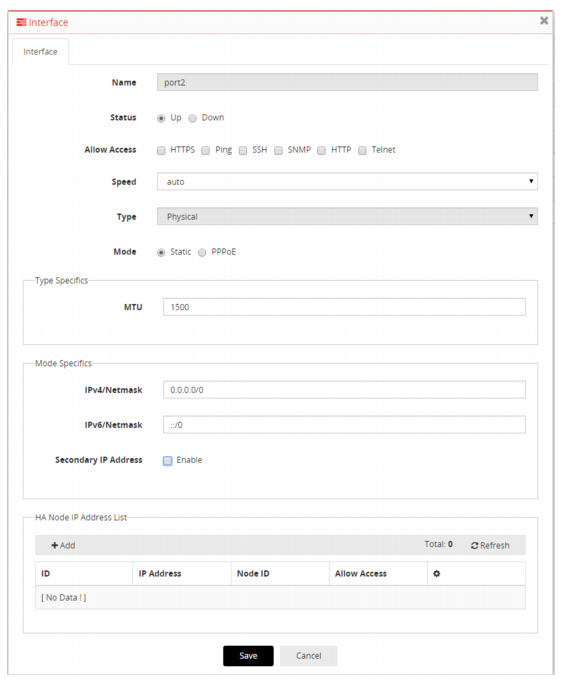
To configure network interfaces:
1. Go to Networking > Interface to display the configuration page.
2. Double-click the row for port2, for example, to display the configuration editor. See
Figure 9.
3. Enter the IP address and other interface settings and save the configuration.
For detailed information, refer to the online help or see
“Configuring network interfaces”.
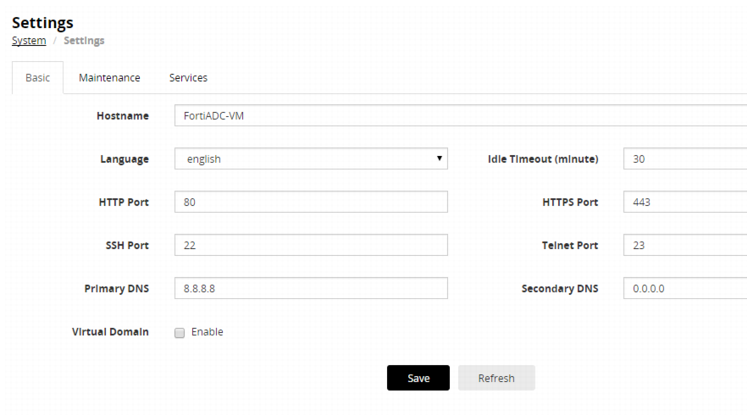
To configure DNS:
1. Go to System > Settings to display the Basic configuration page. See
Figure 10.
2. Enter the IP address for a primary and secondary DNS server; then save the configuration.
For detailed information on configuring DNS, refer to the online help or see
“Configuring basic system settings”.