Add report template content
Various content can be added to a report template, such as charts, images, and typographic elements, using the section and template tool bars.
To add a section to a report template:
1. Go to the Reports tab and select the template from the tree menu to which you would like to add content.
2. From the section tool bar, select the Add icon.
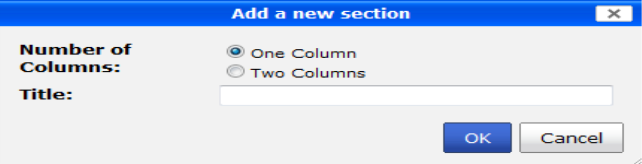
3. The Add a new section dialog box opens.
4. Select the number of columns that the section will contain and enter a title for the section.
5. Select OK to create the new section.
6. If you are finished editing the template, select the Save icon to save your changes.
To add a chart to a report template:
1. Go to the Reports tab and select the template from the tree menu to which you would like to add a chart.
2. Click and drag the chart icon to the location where you want to add the chart.
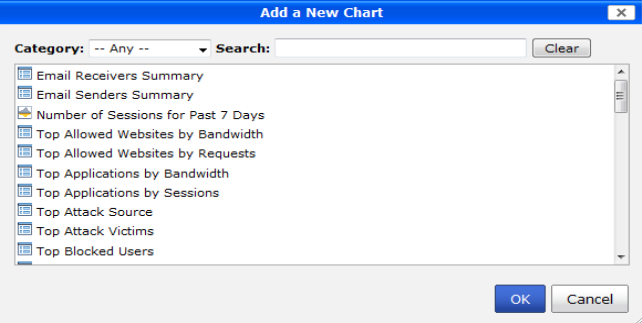
When you release the mouse button, the Add a New Chart dialog box will open.
3. Find the chart that you would like to add in one of the following ways:
• Browse the list of all the available the available charts.
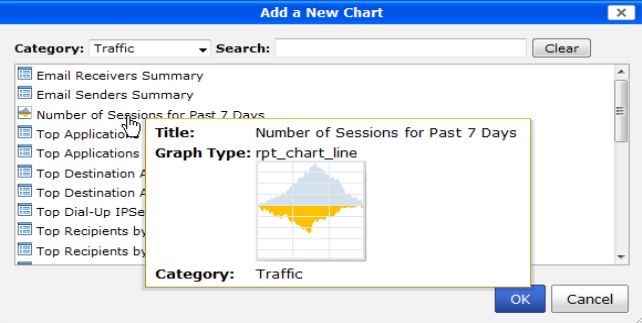
• Select the category of the chart you are looking for and then browse the list of the charts in that category.
• Search for the chart by entering all or part of the chart name into the Search field.
To view a preview of the chart before you add it, hover your cursor over the chart name in the list.
4. Select OK once you have selected the chart you would like to add.
The chart’s placeholder will appear in the location that you had selected in the template.
5. If you are finished editing the template, select the Save icon to save your changes.
To add an image to a report template:
1. Go to the Reports tab and select the template from the tree menu to which you would like to add an image.
2. Click and drag the image icon to the location where you want to add the image.
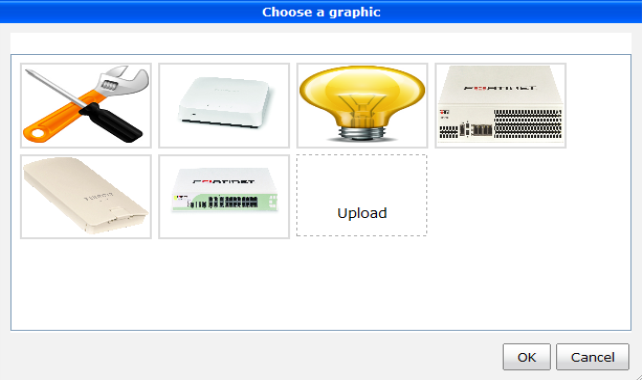
The Choose a graphic dialog box will open.
3. Select an image from the list, or select Upload to browse for an image on your computer.
4. Select OK once you have selected the image you would like to add.
The image will appear in the location that you had selected in the template.
5. If you are finished editing the template, select the Save icon to save your changes.
To add headings to a report template:
1. Go to the Reports tab and select the template from the tree menu to which you would like to add headings.
2. Click and drag the required heading icon to the location where you want to add the template heading.
When you release the mouse button, the selected element will be placed into the template.
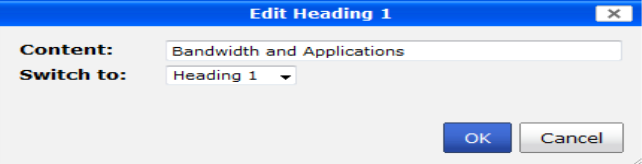
3. To edit the heading text and level, select the edit icon on the template element, or double-click on the element.
The Edit Heading dialog box will open.
4. Enter the heading text in the Content field and, if necessary, change the heading level with the Switch to drop-down list.
5. Select OK to finish editing the heading.
6. If you are finished editing the template, select the Save icon to save your changes.
To add text to a report template:
1. Go to the Reports tab and select the template from the tree menu to which you would like to add text.
2. Click and drag the text icon to the location where you want to add the text box.
When you release the mouse button, the selected element will be placed into the template.
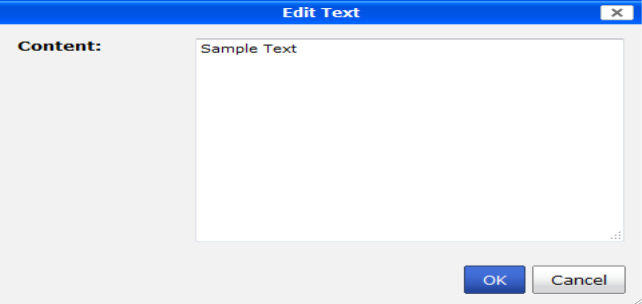
3. To edit the text, select the edit icon on the template element, or double-click on the element.
The Edit Text dialog box will open.
4. Enter the text in the Content field.
5. Select OK to finish editing the text.
6. If you are finished editing the template, select the Save icon to save your changes.
To add breaks to a report template:
1. Go to the Reports tab and select the template from the tree menu that you would like to edit.
2. Click and drag the required break icon to the location where you want to add the break. Line breaks and page breaks are available.
When you release the mouse button, the selected break will be placed into the template.
3. If you are finished editing the template, select the Save icon to save your changes.